NAILS ART – HOW TO TUTORIALS
CURVE & CREATE TAPE
Step By Step Guide –
HOW TO USE – CURVE & CREATE TAPE
Tips & Edges Made Easy
Curve & Create Nail Tape is designed to help you create clean French tips, soft arches, and crisp graphic lines — without needing a perfectly steady hand.
Follow these simple steps to achieve sharp, professional-looking results at home.

1. Apply Your Base
Start with your chosen base:
• Semi-Cured Gel Nail Wraps
• UV-Free Gel Nail Wraps
• Or any fully set base colour
Ensure your base is properly applied and cured (if required) before moving to the next step.
2. Tear Off the Required Amount
Curve & Create is a flexible paper-style tape, so you can easily tear it to size with your hands — no scissors needed.
Tear a piece slightly longer than the width of your nail so you have room to position and press it down securely.
3. place the Tape
Position the tape where you want your line, arch, or tip to sit.
You can use it to create:
• Classic French tips
• Modern curved smile lines
• Clean negative space
• Graphic or angled edges
Take a moment to adjust placement before pressing down.
4. Press & Seal the Edges
This step is key for clean results.
Press the tape down firmly, especially along the edges where product could seep underneath.
You can use:
• Your fingertips
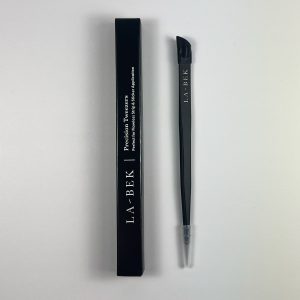
• Or the rubber tip of our Precision Tweezers (highly recommended for extra pressure and control)
Make sure the tape is fully sealed against the nail surface.
5. Apply Your Product
Using the tape as your guide, apply:
• White, Gold, or Silver Gel Liner, or
• Gloss or Matte Top Coat
If you’re painting over the tape, keep your nail angled slightly downward. This helps prevent product from running underneath the edge.
Apply thin, controlled layers for the cleanest result.
6. Remove the Tape Carefully
Before curing, gently peel the tape away slowly and steadily.
If needed, clean up any minor edges using:
• A cotton bud tip
• Or the rubber tip of your tweezers
Take your time — this is where the crisp lines reveal themselves.
7. Cure Under UV Lamp
Once you’re happy with your design, cure under your UV/LED lamp according to product instructions.
Thin layers cure best and give the smoothest finish.
8. Optional – Add a Top Coat
If you’ve used a gel liner, finish with a Gloss or Matte Top Coat for extra protection and shine.
Cure again to lock everything in place.
Curve & Create Nail Tape is designed to make nail art more approachable. Whether you’re trying French tips for the first time or experimenting with chrome-inspired designs, this tool gives you structure and control without taking away creativity.
It’s not about perfection — it’s about making clean lines achievable.
PRO TIPS FOR BEST RESULTS
Pro Tips for Best Results
-
Always apply thin layers — you can build coverage if needed
-
Keep your hand slightly angled downward while applying
-
Press tape edges firmly before applying product
-
Remove tape slowly for the sharpest finish
-
If you make a mistake, wipe off before curing and try again
What Can You Use it For?
Curve & Create Nail Tape is designed to make precision nail art easy, even if you’re new to it. Use it to create:
-
Classic French tips – Clean, even smile lines every time
-
Modern arches – Soft curves for a contemporary twist
-
Graphic edges – Sharp colour-blocking and negative space designs
-
Metallic outlines – Perfect chrome-style tips using our Gold or Silver Gel Liners
-
Matte vs Gloss effects – Create contrast by sealing sections with different top coats
-
Minimalist line art – Subtle detailing over nude or sheer bases
Whether you’re going bold or keeping it minimal, Curve & Create gives you structure, control, and cleaner results — without needing a steady hand.
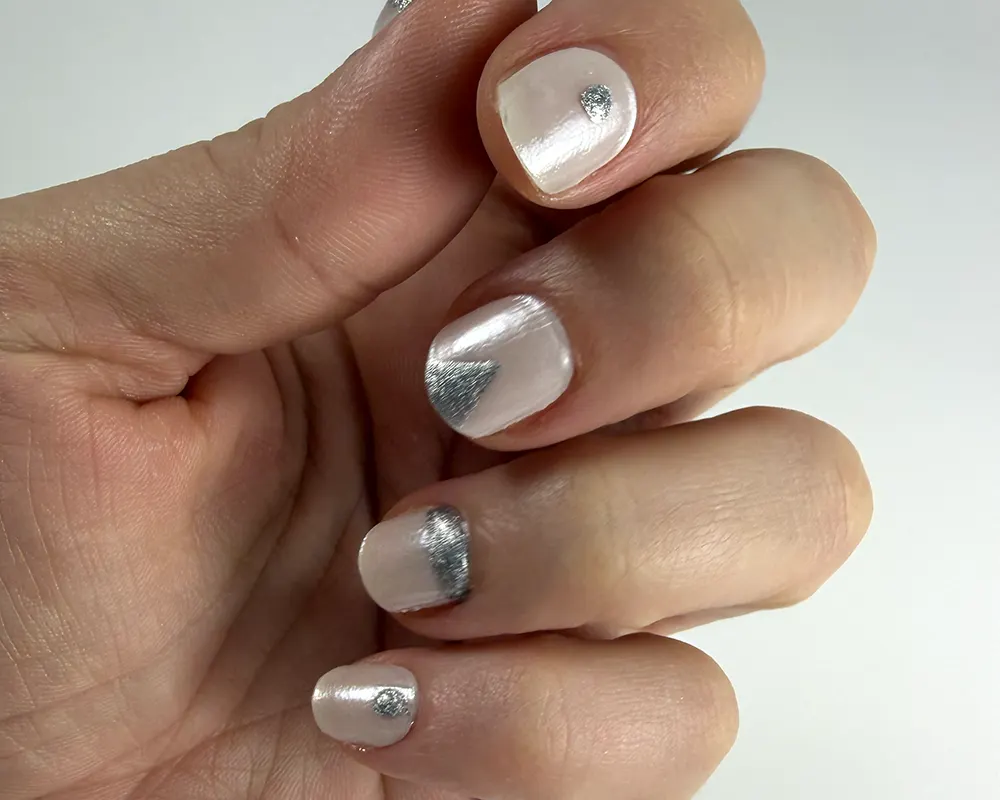
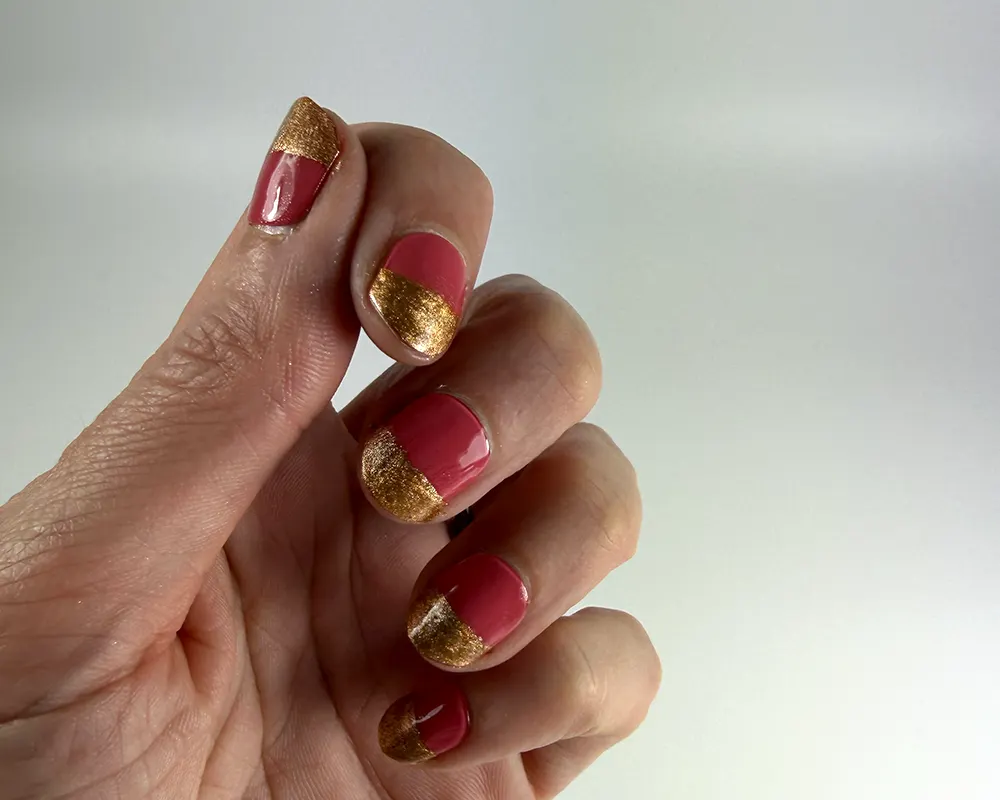
DESIGN INSPO – CURVE & CREATE TAPE
See It In Action
Explore different ways to use Curve & Create — from subtle detailing to bold statement tips.
GEL LINERS
Step By Step Guide –
HOW TO USE – GEL LINERS
Create Clean Lines. Cure. Done.
Our White, Gold, and Silver Gel Liners are designed to help you create French tips, chrome accents, and detailed nail art with precision and control.
Follow these simple steps for crisp, long-lasting results.
1. Apply Your Base
Start with your chosen base:
• Semi-Cured Gel Nail Wraps
• UV-Free Gel Nail Wraps
• Or any fully set base colour
Ensure your base is properly applied and cured (if required) before moving to the next step.
2. Prepare Your Brush
Before applying:
• Wipe excess product off one side of the brush
• Use light pressure when painting
• Work in smooth, controlled strokes
Less product = cleaner lines.
3. Create Your Design
Use the long, fine brush to create:
• French tips
• Curved smile lines
• Straight lines
• Chrome-style outlines
• Minimalist detailing
If you’re new to nail art, you can:
• Rest your hand on a stable surface
• Rotate your finger rather than moving the brush
✨ And remember — if you make a mistake, simply wipe it off before curing and try again.
4. Apply Thin Layers
Thin coats are key.
Applying too much product at once can cause:
• Streaking
• Wrinkling during curing
• Uneven texture
It’s better to apply a thin first layer, cure, then add a second thin coat if needed.
5. Cure Under UV/LED Lamp
Gel liners must be cured under a UV/LED lamp.
Cure for the recommended time according to your lamp.
Ensure the full design is exposed evenly to light.
Do not skip this step — curing locks the design in place and prevents smudging.
6. Remove the Tape Carefully
Before curing, gently peel the tape away slowly and steadily.
If needed, clean up any minor edges using:
• A cotton bud tip
• Or the rubber tip of your tweezers
Take your time — this is where the crisp lines reveal themselves.
7. Cure Under UV Lamp
Once you’re happy with your design, cure under your UV/LED lamp according to product instructions.
Thin layers cure best and give the smoothest finish.
8. Optional – Add a Top Coat
For best results, finish with:
• Gloss Top Coat for shine
• Matte Top Coat for a soft, modern finish
Cure again to seal and protect your design.
Top coat helps:
• Prevent chipping
• Smooth the surface
• Extend wear time
PRO TIPS FOR BEST RESULTS
Pro Tips for Best Results
✔ Use light pressure — let the brush glide
✔ Apply thin layers only
✔ Cure fully between layers
✔ Keep your hand slightly angled downward if applying near edges
✔ Pair with Curve & Create Tape for ultra-clean lines
Beginner-Friendly & Forgiving
One of the best things about gel liners? They don’t set until cured.
That means:
-
You can adjust
-
You can wipe off
-
You can try again
It’s nail art with flexibility — not pressure.
What Can You Use it For?
What Can You Use Gel Liners For?
Our Gel Liners are designed for precision and creativity. Whether you’re keeping it simple or experimenting with detailed nail art, they give you control and flexibility.
Here are just some ways to use them:
✨ Classic French Tips
Create clean, curved smile lines in white or switch it up with metallic gold or silver tips.
✨ Fine Lines & Striping
Add vertical, horizontal, or diagonal lines for a minimalist, modern look.
✨ Dots & Delicate Accents
Use the tip of the brush to place small dots or subtle details for playful or refined designs.
✨ Chrome-Inspired Outlines
Outline the edge of your nail with gold or silver for a sleek, on-trend metallic finish.
✨ Arches & Half-Moon Designs
Paint soft curves near the cuticle or across the centre of the nail for added dimension.
✨ Negative Space Nail Art
Frame sections of your nail to create bold shapes while allowing your base to shine through.
✨ Minimalist Detail
Keep it simple with a single thin line or micro accent for an understated finish.
⸻
Gel liners give you full creative control — and because they don’t cure until placed under a lamp, you have time to adjust, refine, or wipe away and start again.
NAIL STICKERS
Step By Step Guide –
HOW TO USE – NAIL STICKERS
Peel. Place. Seal.
Our Nail Stickers are the easiest way to elevate your manicure with detail, contrast, and personality — no artistic skill required.
Follow these simple steps for a smooth, long-lasting finish.
1. Apply Your Base
Start with your chosen base:
• Semi-Cured Gel Nail Wraps
• UV-Free Gel Nail Wraps
• Or any fully set base colour
Ensure your base is properly applied and cured (if required) before moving to the next step.
2. Choose & Position Your Sticker
Using tweezers, gently peel your chosen sticker from the sheet.
Take care not to stretch or tear it.
Place the sticker onto your nail in your desired position. Before pressing firmly, take a moment to adjust placement so it sits exactly where you want it.
3. Press & Smooth
Once positioned, gently press the sticker down to secure it.
For best results, use:
• Your fingertip
• Or the rubber tip of your LA-BEK Precision Tweezers
Smooth from the centre outward to eliminate air bubbles and ensure full contact with the nail surface.
4. Seal with Top Coat (Recommended)
While stickers can sit beautifully on their own, sealing them with a top coat will:
• Increase longevity
• Prevent lifting
• Create a smoother finish
• Help protect edges
Apply a thin, even layer of either:
• Gloss Top Coat for shine
• Matte Top Coat for a soft, modern look
5. Cure & Lock It In
Cure under your UV/LED lamp for 60–120 seconds.
Once cured, your design is sealed and ready to wear.
Want more?
For more stunning images of our range in action, along with videos and helpful tips, be sure to check out our social media!
Nail Art FAQs
Do I need a lamp?
It depends on the product:
-
Gel Liners → Yes, you will need a UV/LED lamp to cure them.
-
Top Coats (Gloss or Matte) → Also require curing.
-
Curve & Create Tape & Stickers → No lamp required on their own — but if you’re using gel liner or top coat over them, you’ll cure as usual.
If you’re using gel liners, curing is essential to set the design and prevent smudging.
Are these beginner-friendly?
Absolutely.
Our Curve & Create Nail Tape acts as a guide, helping you create straight lines, French tips, arches, and clean edges — even if you don’t have a steady hand.
If you prefer freehand, our Gel Liners feature a long, fine brush for precision control.
✨ And the best part?
If you make a mistake with gel liner, simply wipe it off before curing and start again.
Nail art should feel fun — not stressful.
What can I use Curve & Create Tape with?
Curve & Create works beautifully with:
-
White, Gold, and Silver Gel Liners
-
Gloss Top Coat
-
Matte Top Coat
Use it to create:
-
French tips
-
Arches and smile lines
-
Clean graphic edges
-
Modern negative-space designs
You can even layer matte and gloss top coats over sections for subtle texture effects.
Do I need a top coat for stickers?
You don’t have to — but we strongly recommend it.
Sealing your stickers with either our Gloss or Matte Top Coat will:
-
Help them last longer
-
Prevent lifting
-
Create a smoother finish
-
Protect edges from catching
It’s a small step that makes a big difference in durability.
Products to help with application + nail care

Cuticle Oil Pen
Cuticle Balm
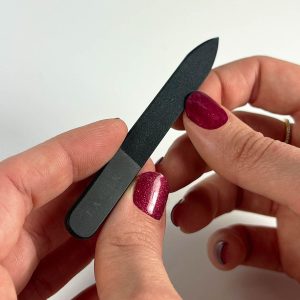
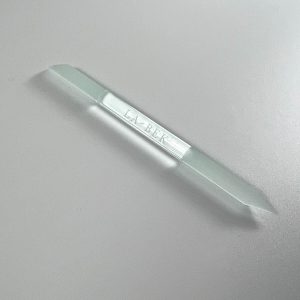
Glass Nail File
Glass Cuticle Pusher
Glass Tools Bundle